In a world where opposites increasingly butt heads in conflict, these live in complete harmony.
Two doughs of completely different colors combine to create something far more impressive together.
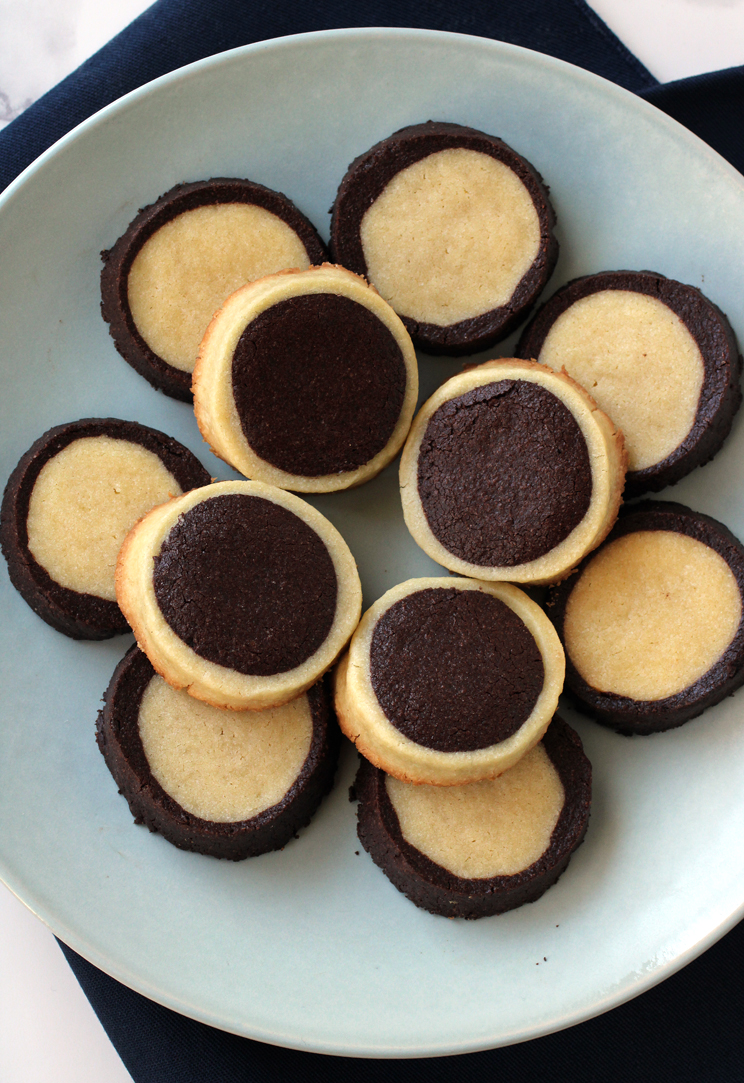
These are not New York black-and-white cookies, but French ones.
“Parisian Black-and-White Cookies” draw your gaze immediately. They deliver that classic snappy, sandy texture and buttery taste that never go out of fashion.
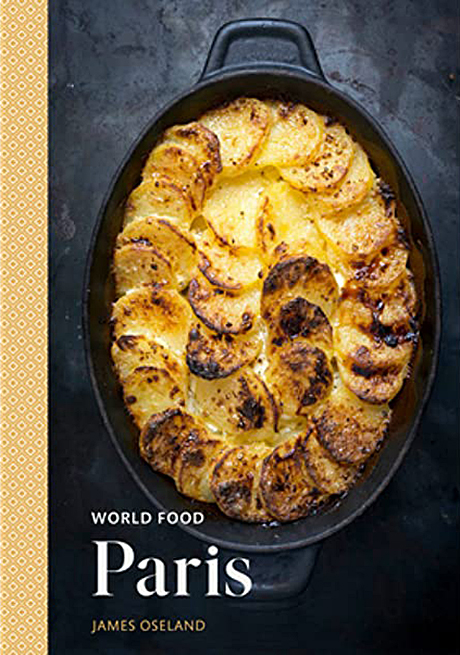
This fanciful cookie recipe is from “World Food Paris” (Ten Speed Press, 2021), of which I received a review copy, by James Oseland, award-winning cookbook author and former editor-in-chief of Saveur magazine, with writer Jenna Leigh Evans.
This book picks you up and sets you down in the heart of Paris, with its evocative photos of lush city parks, bistro life, stately chateaux, and proud cooks and bakers displaying their delectable handiwork.
Take a taste of “Duck Confit with Fingerling Potatoes,” “West African Rice with Fish and Vegetables,” “Braised Veal in Mushroom and Cream Sauce,” and “Home-Style Rhubarb Tart.”
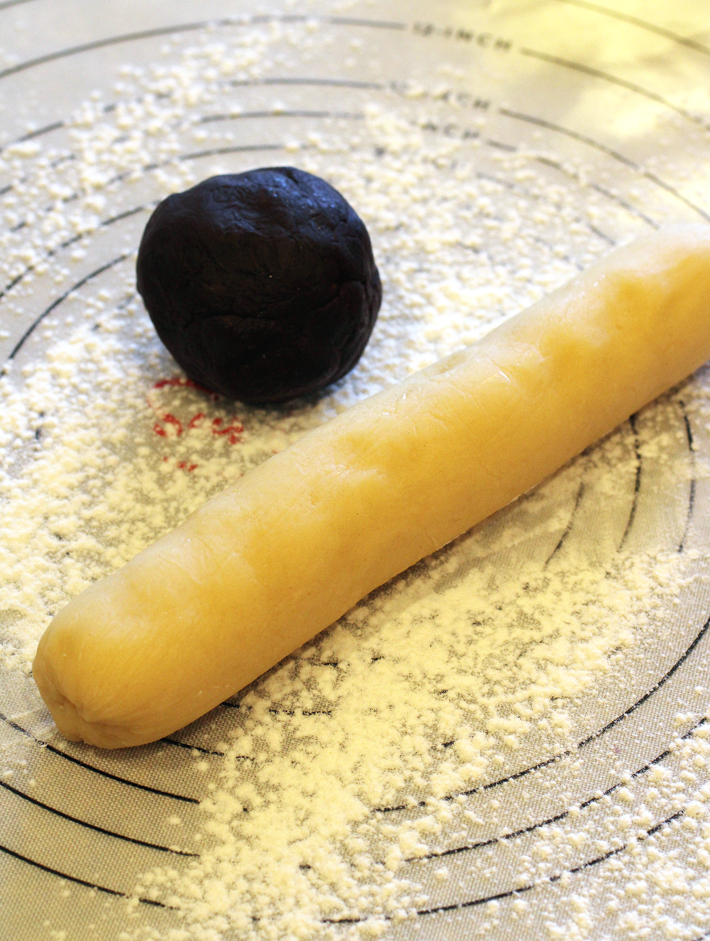
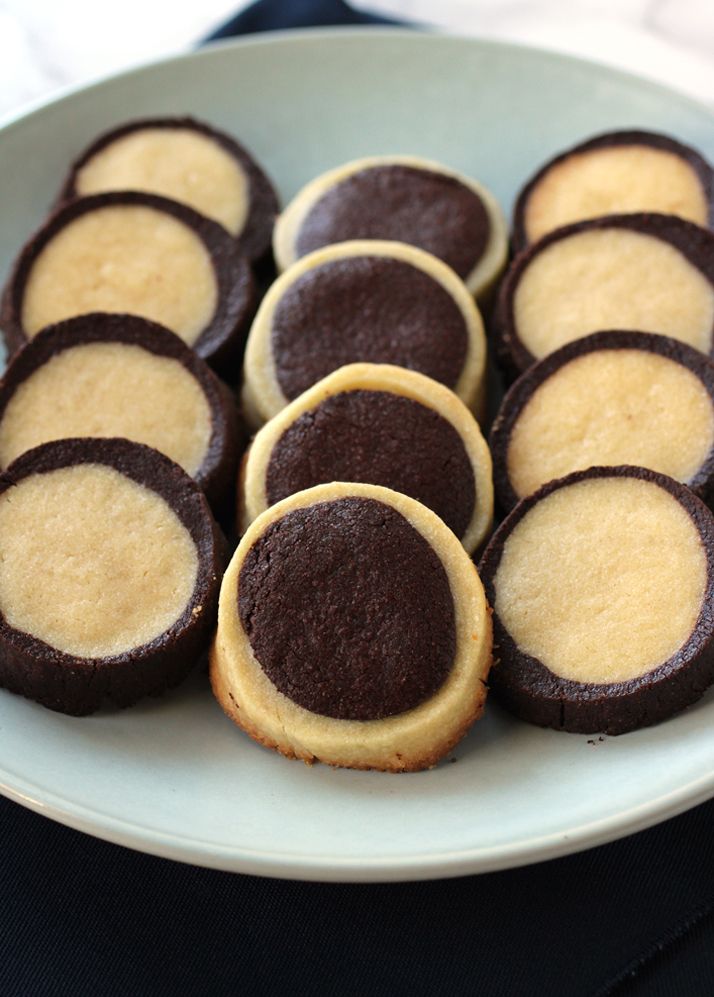
For these slice-and-bake cookies, you need to make a plain dough of butter, sugar, flour, and an egg yolk plus a chocolate dough that’s similar but has the addition of cocoa powder plus melted dark chocolate.
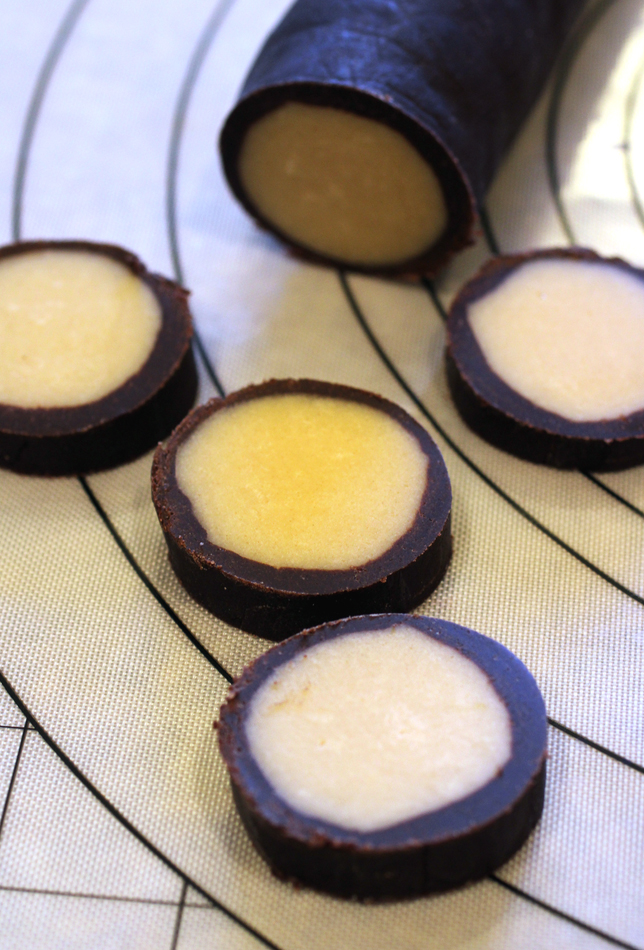
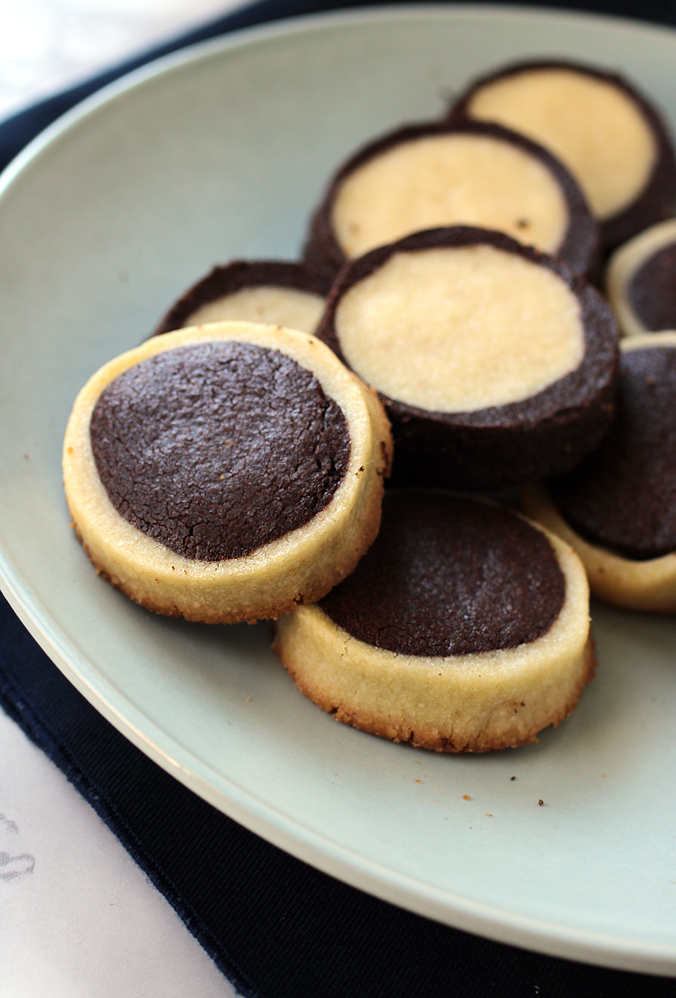
Then, you divide each different dough into two unequal portions. The larger portion of each gets formed into a log, so that you end up with one plain log and one chocolate log. The remaining plain and chocolate doughs are rolled out into rectangles. The plain log gets wrapped in the chocolate rectangle, and the chocolate log gets wrapped in the plain rectangle, creating a two-toned cookie with a high-contrast rim and center.
Because the dough is a little crumbly, I found it took a bit of finesse to get the rectangle of dough to adhere securely to the cold log of dough. What I ended up doing was employing a sushi-making trick. I put the rectangle of dough with the log on top of it on a sheet of plastic wrap. Then, like you would use a bamboo mat to roll up a maki roll, I used the sheet of plastic wrap to nudge the rectangle of dough up onto and over the log of dough, pressing tightly and compressing slightly, so that everything adhered snugly. I added this tip to the recipe below.
The rolled-up logs are refrigerated to firm up before slicing and baking. The recipe states to bake them for 12 to 15 minutes. I found that they brown pretty quickly, so I suggest checking at the 10-minute mark because that’s when I found mine were done.
These are elegant, austere little cookies. They are perfect any time, any place. And they epitomize the best of all worlds.
Parisian Black-and-White Cookies
(Makes about 40 cookies)
For plain dough:
1/2 cup (1 stick) unsalted butter, at room temperature
1/3 cup sugar
Salt
1 egg yolk, at room temperature
1 cup all-purpose flour, plus more for the work surface
For the chocolate dough:
5 tablespoons unsalted butter, at room temperature
1 ounce dark baking chocolate, melted and cooled to room temperature
1/3 cup sugar
Salt
1 egg yolk, at room temperature
3/4 cup all-purpose flour
1/4 cup unsweetened Dutch-processed cocoa powder
To make the plain dough: In a medium bowl, using a handheld mixer (or a stand mixer with a paddle attachment), beat the butter on medium speed until very creamy and smooth. Add the sugar and a pinch of salt and beat until fully combined, about 1 minute. On low speed, add the egg yolk and beat until blended. Turn off the mixer, add the flour, and using a rubber spatula, mix until barely combined. Return the mixer to it slowest speed and beat until all of the flour is incorporated, about 1 minute. Take care not to overwork the dough, which should be clumpy and soft.
Working on a lightly floured surface, divide the plain dough into three equal portions. Press together two portions and, using your palms, roll the dough into a smooth cylinder about 8 inches long and 1 1/4 inches in diameter. Wrap the cylinder tightly in plastic wrap. Roll the third dough portion into a ball and wrap in plastic wrap. Refrigerate both shapes for 2 hours.
To make the chocolate dough: In a medium bowl, using the handheld mixer (or stand mixer with paddle attachment), beat together the butter and chocolate on medium speed until creamy and smooth. Add the sugar and a pinch of salt and beat until fully combined, about 1 minute. On low speed, add the egg yolk and beat until well blended. Turn off the mixer, add the flour and cocoa powder, and using a rubber spatula, mix until barely combined. Return the mixer to its lowest speed and beat until all the flour and cocoa powder are incorporated, about 1 minute. Take care not to overwork the dough, which should be clumpy and soft.
Working on the lightly floured surface, divide the chocolate dough into three equal portions. Press together two portions and, using your palms, roll the dough into a smooth cylinder about 8 inches long and 1 1/4 inches in diameter. Wrap the cylinder very tightly in plastic wrap. Roll the third dough portion into a ball and wrap in plastic wrap. Refrigerate both shapes for 2 hours.
To make the cookies: Unwrap the plain and chocolate refrigerated dough balls. On a lightly floured surface, roll out each dough ball into a smooth-edge rectangle about 4 inches wide and 8 inches long. Place the plain dough rectangle facing you horizontally. Unwrap the chocolate dough cylinder and place it atop the plain dough rectangle, flush with its upper edge. Roll the plain dough around the chocolate cylinder in the manner of a jelly roll. Use your fingers, smooth the seam. (If you have trouble getting the plain dough to adhere to the dough cylinder, place both together atop a large sheet of plastic wrap. Use the plastic wrap to help you lift the plain dough up and over the cylinder, compressing it gently to adhere — maki-sushi-roll-style. Run your fingers over the plastic wrap where the ends of the dough rectangle meet to smooth the seam. Leave the plastic wrap on.) Now lay the plain dough cylinder on top of the chocolate rectangle the same way, then repeat the rolling and smoothing process. You will now have two cylinders: one chocolate outside and plain inside, and one plain outside and chocolate inside. If you haven’t already, wrap each one with plastic wrap and refrigerate for 3 hours or overnight.
When the dough is sufficiently chilled, preheat the oven to 375 degrees. Have a sheet pan ready; there’s no need to butter it or line it with parchment paper. Unwrap one of the cylinders and, using a sharp knife, cut it into slices about 1/8 to 1/4 inch thick. Arrange the slices on the sheet pan, spacing them about 1 1/2 inches apart. Bake the cookies until no longer raw and very lightly browned on the bottom, 10 to 15 minutes.
Transfer to a wire rack and let cool completely. Repeat with the remaining cylinder, letting the sheet pan cool to the touch before baking the next batch. Store the cookies in an airtight container at room temperature for up to a few days.
Adapted from “World Food Paris” by James Oseland with Jenna Leigh Evans
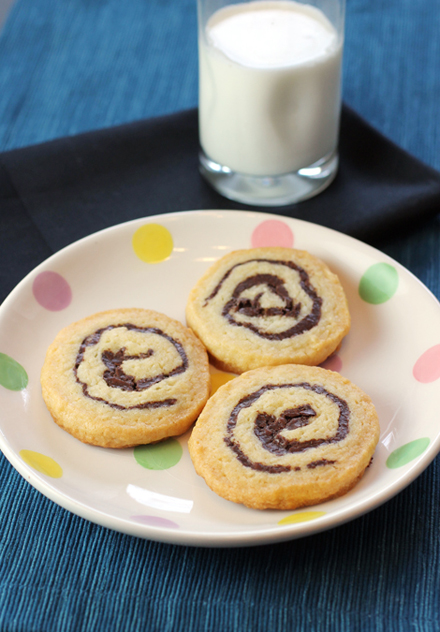
More Slice-and-Bake Cookies to Enjoy: Chewy Coconut-Chocolate Pinwheels
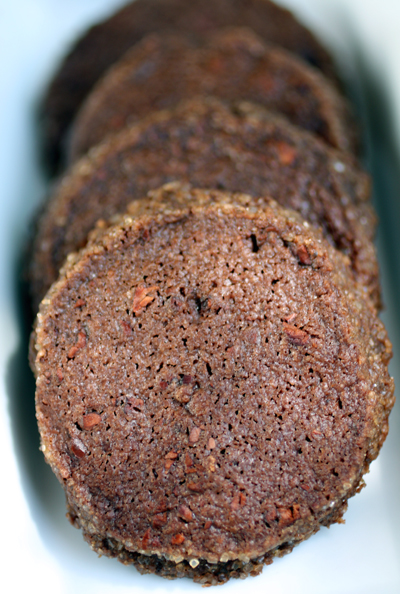
And: Chocolate-Cocoa Nib Shortbread Cookies
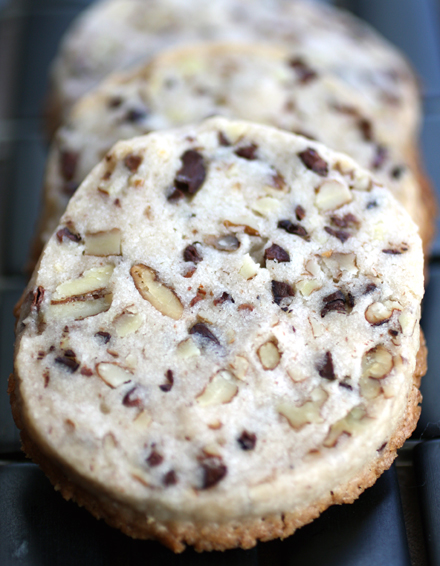
And: Nibby Pecan Cookies