Sally’s Baking Addiction’s Buttermilk Chive Fantail Rolls
Holidays do a delicate dance between delivering comforting nostalgia and raise-the-bar pomp.
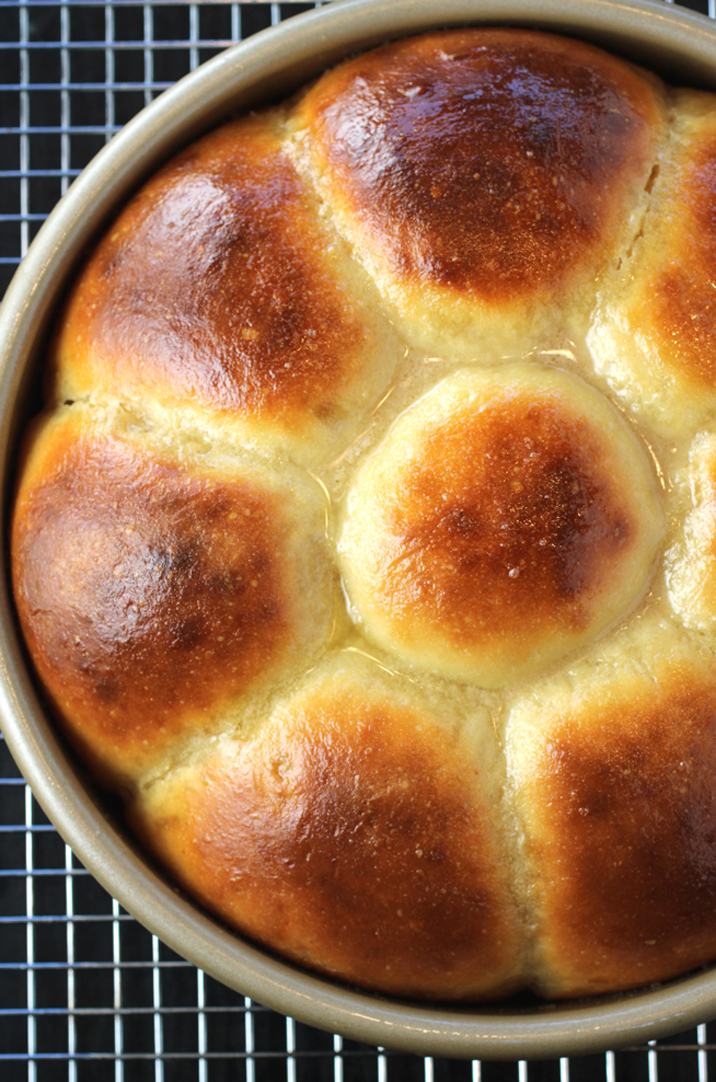
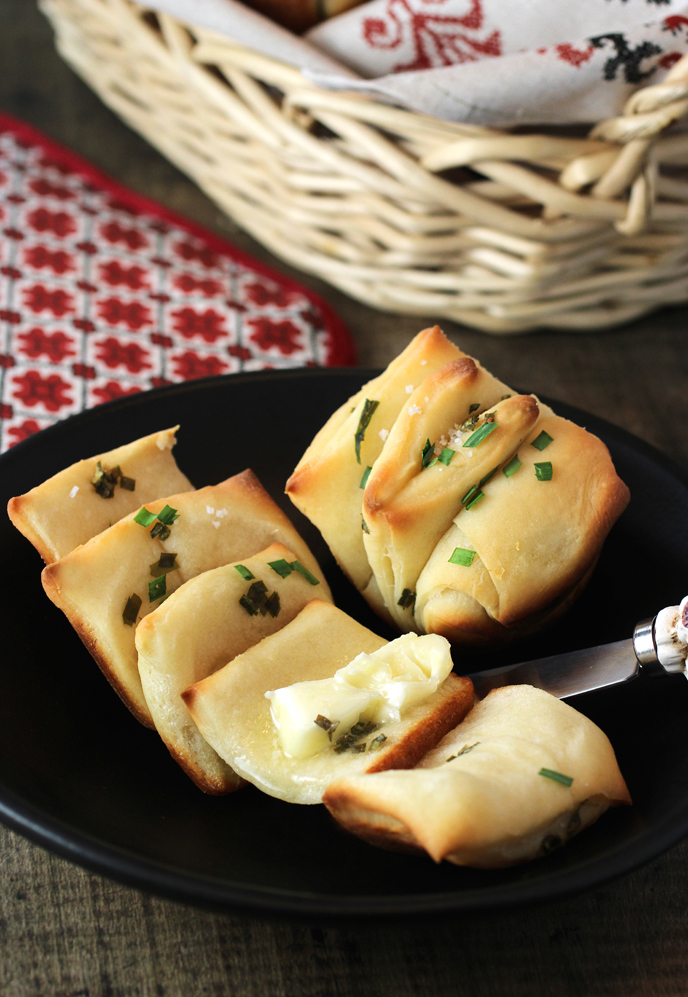
“Buttermilk Chive Fantail Rolls” cuts the difference splendidly. With their distinctive look of fanned-out pages of a classic novel, they signal “special” from the get-go. Yet with their ability to be enjoyed one layer at a time, they evoke memories of those refrigerated Pillsbury Grands biscuits in a tube that pops open with a “whoosh.”
Dressed up with snipped chives plus garlic and onion powders, these biscuits are from the new “Sally’s Baking 101” (Clarkson Potter), of which I received a review copy, that’s already a New York Times best-seller.

It was written by Maryland-based Sally McKenney, founder behind the sensation known as Sally’s Baking Addiction website, which has amassed millions of loyal readers. Established in 2011, the site is famed for its meticulously tested recipes and beautiful food photography.
As the title implies, the book contains 101 approachable recipes for both sweet and savory baking, some that are fan favorites from her website and others that are entirely new. McKenney helpfully rates each one as “Beginner,” “Intermediate,” or “Advanced” skill level, so that readers can immediately gauge their comfort zone.
Your mouth will water over delights such as “Chocolate Peppermint Sandwich Cookies,” “Caramel Sheet Cake,” “Tiramisu Cake Roll,” “Sky-High Chocolate Mousse Pie,” “Eggs Benedict Breakfast Casserole,” and “Butternut Squash & Sage Chicken Pot Pie.”
These fanciful rolls (“Intermediate” skill level) are made with a yeast dough fortified with buttermilk, melted butter, and an egg. Garlic powder and onion powder get added in twice — once mixed in the dough itself, and then later sprinkled on the rolled out layers.
I appreciate that McKenny gives detailed instructions, including to make sure your buttermilk-yeast-sugar mixture turns foamy and frothy, letting you know the yeast is truly activated. And to poke the dough with your finger after mixing to see if it bounces back, a sign that the gluten has formed to create elasticity.
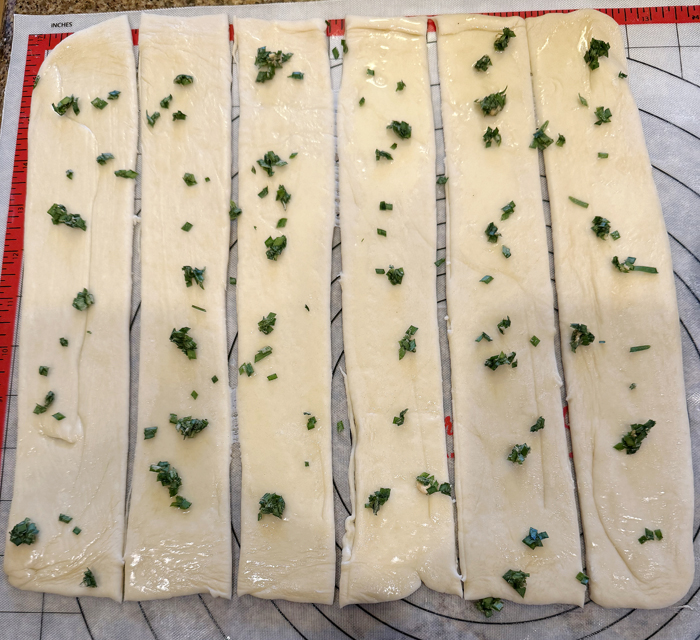
After the dough ball has risen, divide it in two. Roll each portion into a square, then brush with melted butter, sprinkle on more onion powder and garlic powder, as well as chopped fresh chives. Next, cut the square of dough into six strips. Stack the strips on top of each other, Napoleon- or mille-feuille-style. Lastly, cut that stack into 6 squares.
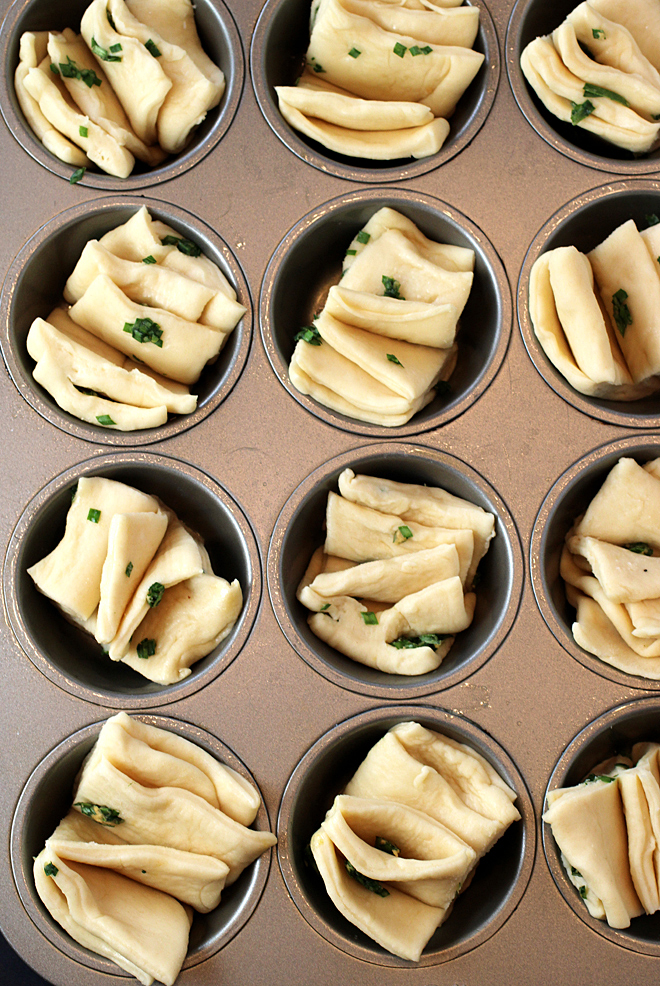
Place each square in the well of a 12-cup muffin pan coated in non-stick spray. Gently spread out the layers slightly. Let rise again briefly before baking until golden brown.
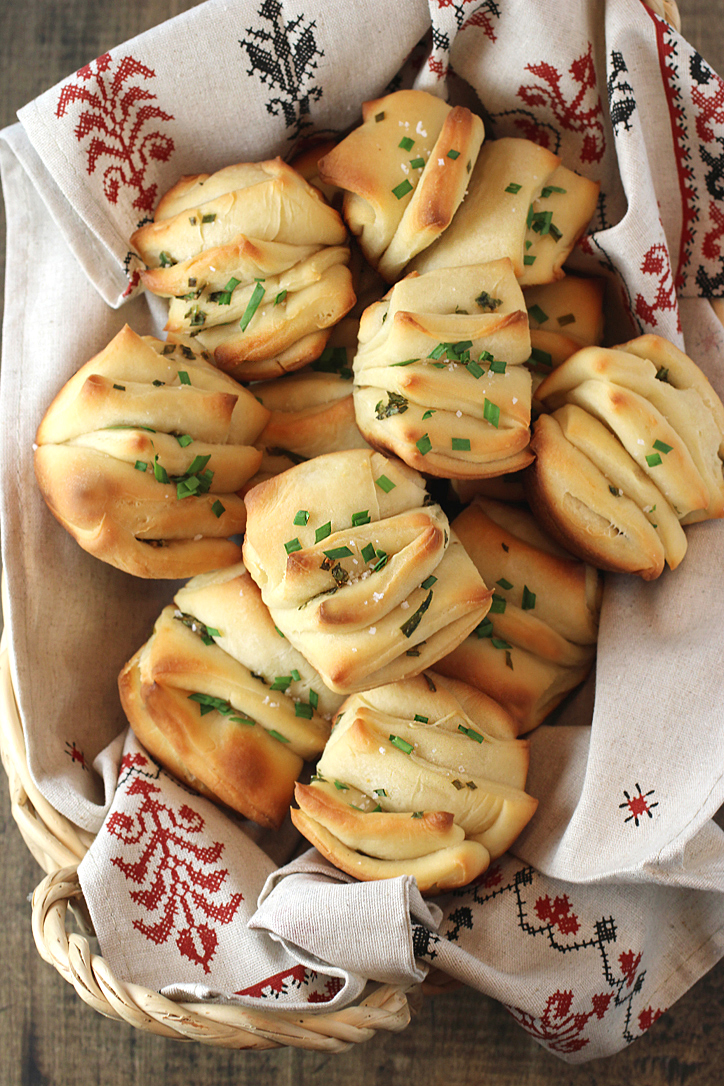
When the rolls come out of the oven, brush them with melted butter, sprinkle on a little sea salt, and more chives, and serve with more butter on the side, if you like.
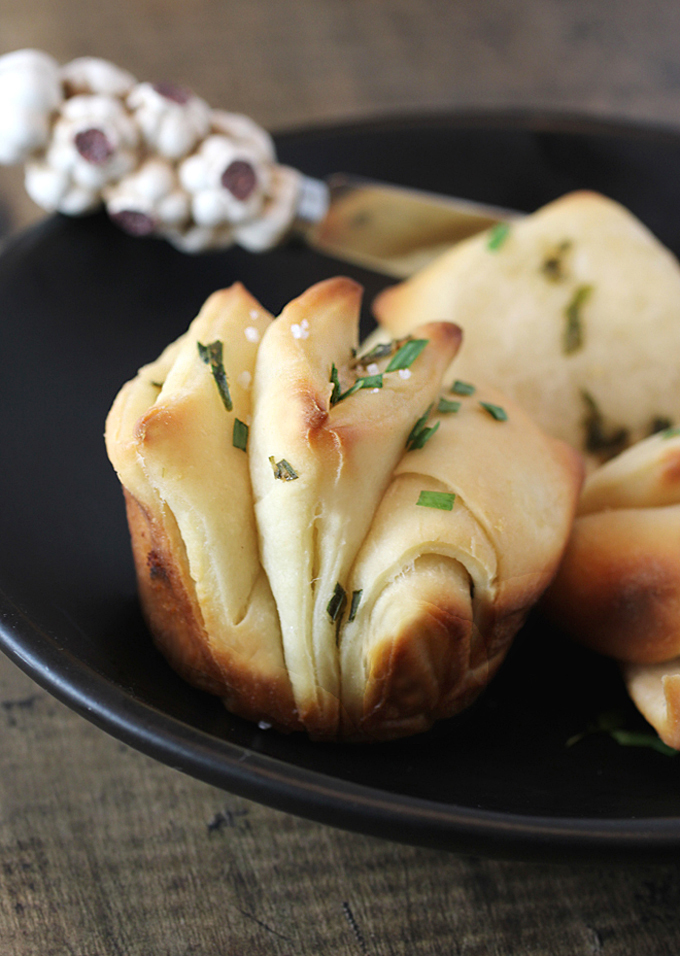
These are no plain Jane rolls. They announce themselves with the aroma and deep taste of garlic and onion. They hit all the textures — from crisp to chewy to soft — as you nibble your way through them.
And there’s no denying that eating them is pure joy.
Buttermilk Chive Fantail Rolls
(Makes 12 rolls)
For the dough:
3/4 cup warm buttermilk (about 110°F/43°C) (180g/ml)
2 teaspoons instant or active dry yeast (6g)
2 teaspoons granulated sugar
3 cups bread flour or all-purpose flour, plus more as needed (390g)
4 tablespoons unsalted butter, melted (56g)
1 large egg, at room temperature
1 teaspoon salt
1/2 teaspoon garlic powder
1/2 teaspoon onion powder
Nonstick spray or butter, for the bowl and pan
For shaping and brushing:
4 tablespoons unsalted butter, melted and divided (56g)
3 tablespoons chopped fresh chives, plus more for garnish
1/2 teaspoon garlic powder
1/2 teaspoon onion powder
Coarse or flaky sea salt
Make the dough: In the bowl of a stand mixer fitted with the dough hook, whisk the warm buttermilk, yeast, and sugar. Cover and let sit for 5 to 10 minutes or until foamy and frothy on the surface. (If you don’t have a stand mixer, use a large mixing bowl and mix the dough with a wooden spoon or spatula in the next step.)
Add 1 cup (130g) of the flour, the melted butter, egg, salt, garlic powder, and onion powder and mix on low speed for 30 seconds. Scrape down the sides of the bowl, then add the remaining flour. Beat on medium speed until the dough comes together and pulls away from the sides of the bowl, about 2 minutes. If it seems too stick and clings to the sides of the bowl instead of forming a rough mass around the dough hook, add more flour, 1 tablespoon at a time, and continue to mix until the dough pulls away from the sides of the bowl but is still moist and tacky. If it feels dry and crumbly, add more buttermilk, 1 teaspoon at a time, mixing well after each addition.
When the dough reaches the proper consistency, beat on low speed for 5 minutes more, or until the dough is smooth, supple, and elastic. (Or knead by hand on a lightly floured surface for 5 minutes. Keep a small bowl of flour nearby to lightly flour your hands and/or the dough as needed, as it can be quite sticky.) To see if the dough is ready, poke the dough with your finger. If the dough bounces back without sticking to your finger, it’s been kneaded enough. It it doesn’t bounce back, keep kneading.
Lightly grease a large bowl with nonstick spray. Place the dough in the bowl, turning it to coat. Cover the bowl with a tea towel or plastic wrap and let the dough rise at room temperature for 1 to 2 hours or until doubled in size.
Generously grease a 12-cup muffin pan with nonstick spray.
Shape and brush the rolls: When the dough is risen, punch it down to release the air and divide it in half. With a lightly floured rolling pin on a lightly floured surface, roll each piece of dough to a 12-inch square. Brush each square with 1 tablespoon of the melted butter (reserve the rest for the topping), then sprinkle each evenly with chives, garlic powder, and onion powder. With a pizza cutter or sharp knife, cut 1 of the dough squares into six 2-inch-wide strips. Layer the strips on top of each other to make a tall 6-layer stack of dough. Using a sharp knife cut it into 6 equal squares. If the layers slide around because of the melted butter, do your best to keep them neatly stacked. Repeat with second square of dough, so that you have 12 layered squares.
Turn each on its side so the cut layers face up, and place in the prepared muffin pan. Slightly separate the layers so they fan outward.
Cover the shaped rolls and let rise at room temperature until slightly puffy, about 30 minutes. You do not want the rolls to puff up too much during this second rise or they won’t hold the fantail shape.
Preheat the oven to 375°F (191°C).
Bake the rolls for 20 minutes or until golden brown on top, rotating the pan halfway through. If the tops are browning too quickly, loosely tend aluminum foil over the rolls.
Brush the remaining 2 tablespoons melted butter over the hot rolls and sprinkle lightly with sea salt and more chives. Cool in the pan for 10 minutes before serving. Store wrapped tightly at room temperature for up to 3 days or in the refrigerator for up to 1 week.
Overnight Option: Prepare the dough through covering the shaped rolls in the pan. Place the muffin pan in the refrigerator for up to 16 hours. Remove from the refrigerator and let the dough rise at room temperature for 1 hour or until slightly puffy, then bake as directed.
From “Sally’s Baking101” by Sally McKenney
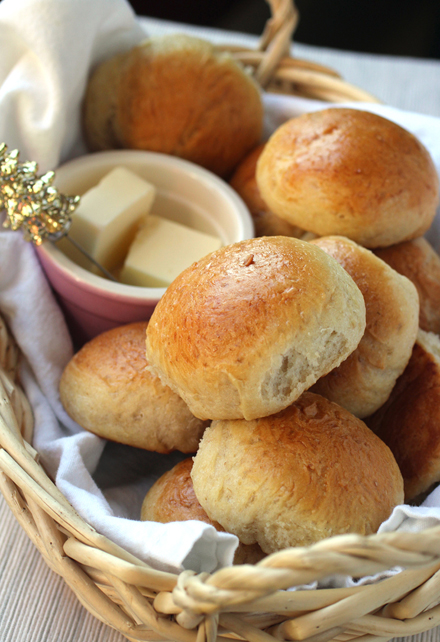
More Roll Recipes to Enjoy: Oat Rolls
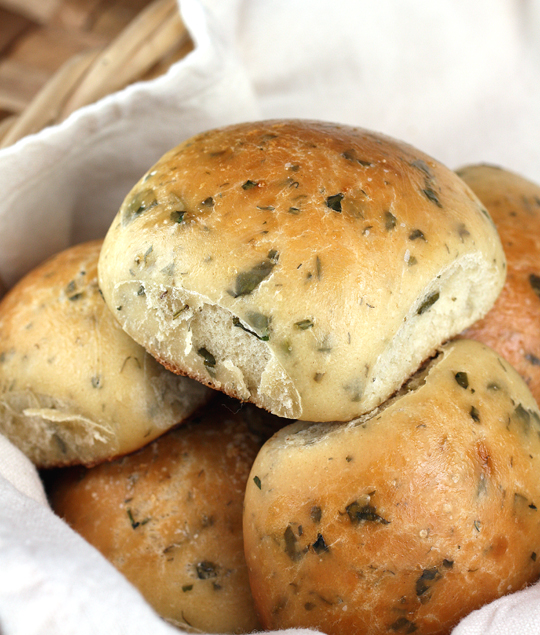
And: Overnight Soft Herb Rolls