
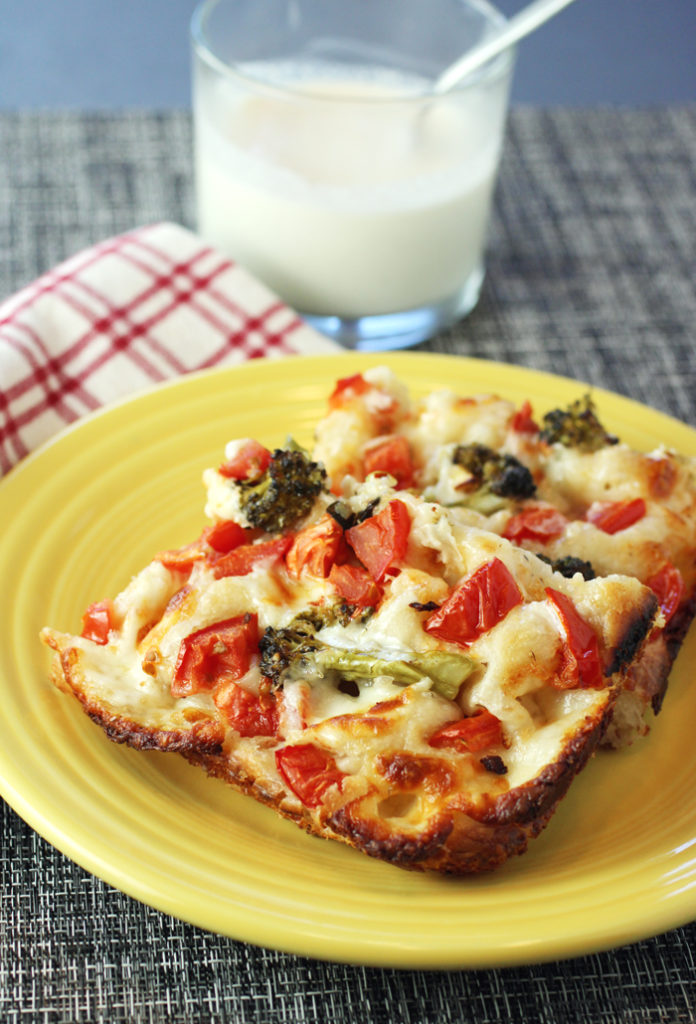
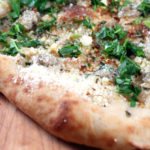
Tear Into Lemon, Broccoli and Garlic Deep-Pan Pizza
Pan pizza is definitely having a raging moment in the Bay Area.
A decidedly thick one.
With more Detroit-style pizza being offered at places around the Bay, you don’t need to get on a plane to the Midwest to dig into a slab.
You can even try your hand at making your own at home, thanks to the new cookbook, “Perfect Pan Pizza: Square Pies to Make at Home, from Roman, Sicilian, and Detroit, to Grandma Pies and Focaccia” (Ten Speed Press), of which I received a review copy. It’s by bread-making authority Peter Reinhart.
This is the ultimate tome with everything you need to know about making thick-crust-style pizza, with detailed directions and photos about making, folding, dimpling, and baking the dough. Reinhart also provides a variety of dough recipes so you can choose according to your preference: “White Flour Dough,” “Whole Grain Country-Style Dough,” and “Naturally Leavened Dough.”
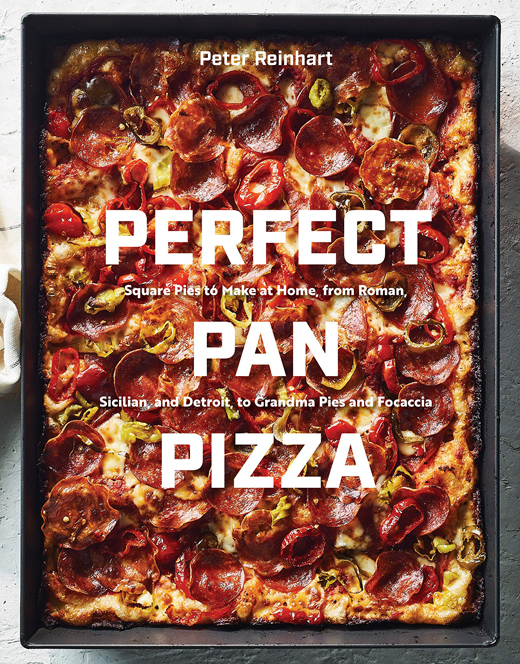
He breaks down the differences between Roman, Sicilian, Detroit, Grandma-style and focaccia-style pan pizzas, and provides recipes for all those styles with inventive toppings, including “Beef Brisket with Burnt Ends,” “Banh Mi,” and “Avocado Scampi.”
The “Lemon, Broccoli, and Garlic” caught my attention because I figured when consuming that many carbs, I ought to at least try to squeeze some veggies in at the same time.
I chose to use the “White Flour Dough.” It needs to be chilled at least 12 hours, so I actually ended up making the dough two days before I was going to bake the pizza.
I also deviated from the recipe slightly. Reinhart advises to bake the dough in two 9-by-9-inch round or square baking pans that are at least 2 inches deep. I admit I’m more of a thin-crust gal when it comes to pizza, so I decided to make my albeit thick-crust pizza slightly shallower. I used a 10-by-17-inch sheet pan with a 1-inch depth instead to make one big pan pizza that was a little less stout instead.
After the dough is mixed in a mixer, it’s folded in a precise manner multiple times as detailed in the recipe below. This helps gently develop the gluten or elasticity in the dough. Reinhart also provides precise instructions on how to stretch the dough to fit your pan(s) so that you aren’t rough-housing it, but delicately working to expand it just right.

If you are a cheese fanatic, this pizza is for you. There’s a ton of cheese in it. And on the corner pieces, the cheese gets wonderfully crispy.
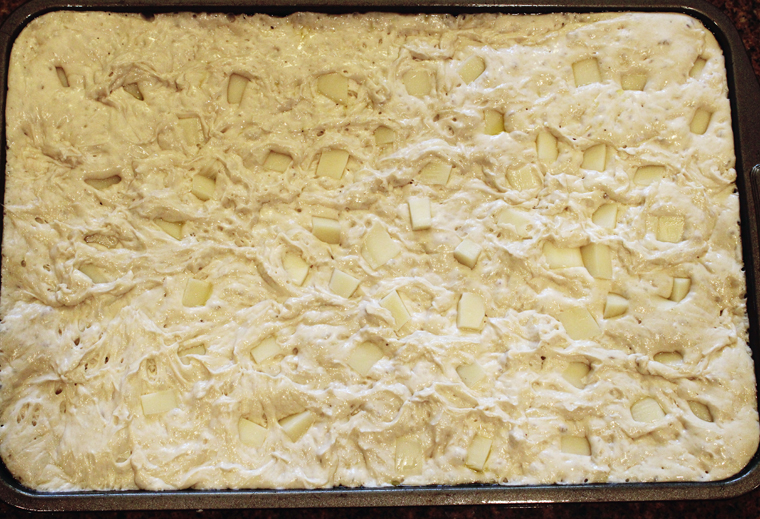
Half of the cheese cubes are pressed into the dimpled dough in the pan just before the final rise. They will end up sinking into the dough if you use a 2-inch or deeper pan or more hugged by the dough if you use a larger, shallower sheet pan like I did. The rest of the cheese goes on top just before baking, along with broccoli that’s been sauteed with garlic and lemon juice.
By the way, you will want to oil your pan(s) generously before you start dimpling and coaxing the dough to fit. Otherwise, you might not be able to get the pizza out of the pan in one piece cleanly. With my using a larger pan, I definitely needed to add more oil than I thought (which I added to the recipe below), as my pizza ended up sticking quite a bit. It took a little elbow-grease to get slices out of the pan.
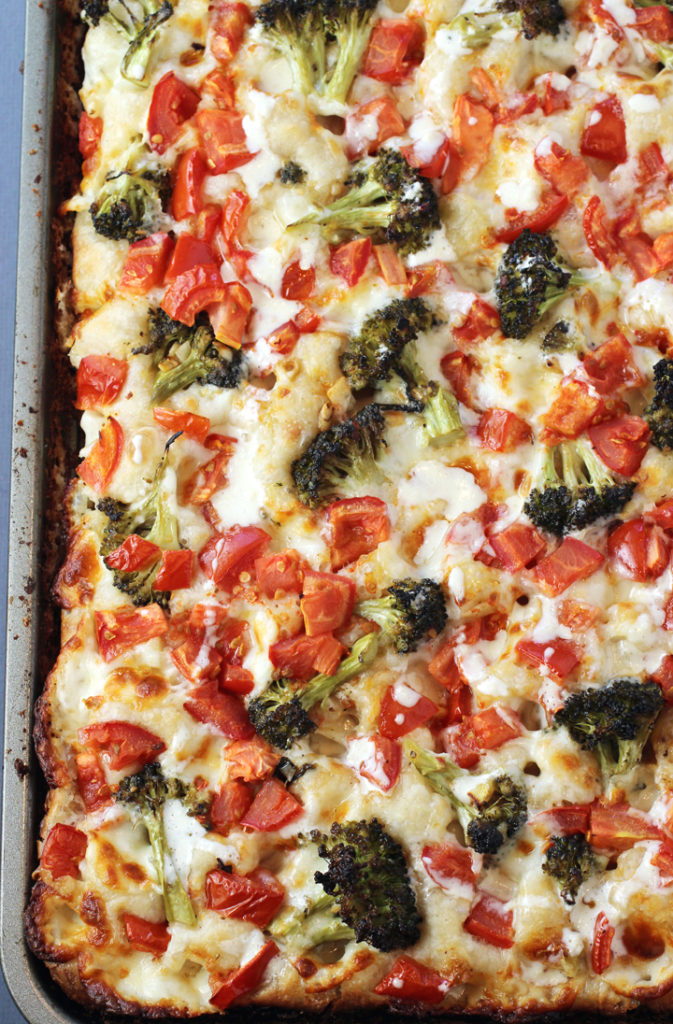
The taste and texture, though, were divine. The crust was airy and soft, almost like focaccia. The broccoli and garlic added a slight bitterness and pungent sharpness in contrast with all the gooey cheese. There’s no tomato sauce on this pizza, so the caramelized veggies get the spotlight.
An easy lemon-garlic sauce gets stirred up quickly by just combining store-bought mayo with minced garlic, lemon juice, and a little grated Parmesan. You can drizzle it over the pizza or let everyone add as much as they want to their own slice.
It adds another layer of creaminess to the pizza. Given the abundance of cheese already, I’m not sure the sauce is really necessary. But if you like your pizza loaded, then go for it lavishly.
White Flour Dough
4 1/3 cups (1 pound, 4 ounces) unbleached bread flour
1 3/4 teaspoons (0.39 ounce) kosher salt
1 1/4 teaspoons (0.14 ounce) instant yeast
2 cups (16 ounces) water, cool, about 60 degrees
2 tablespoons (1 ounce) olive oil
1 tablespoon (0.50 ounce) extra olive oil (for stretching and folding)
In the bowl of a stand mixer fitted with the paddle attachment, or in a large mixing bowl, combine the flour, salt, and yeast. Add all of the water and mix on slow speed for 30 seconds or stir with a large spoon to form a coarse, shaggy dough. Add the 2 tablespoons of oil, increase the speed to medium (or continue mixing with the spoon or with wet hands), and mix for another 30 to 60 seconds to make a wet, coarse, sticky dough. It may seem too wet to form a cohesive dough at this stage. Let the dough rest for 5 minutes to fully hydrate.
Increase the mixer speed to medium-high (or continue mixing by hand) and mix for another 30 to 60 seconds to make a smooth, sticky dough. It should be soft, supple, and sticky to the touch, and offer a little resistance when pressed with a wet finger.
Smear 1 teaspoon of the extra oil on your work surface to make a 15-inch-diameter oil slick so your dough won’t stick. Rub some oil on a plastic bowl scraper and on your hands and use the scraper to transfer the dough to the oil slick. Flatten the coarse dough with your oiled hands. Use a plastic scraper, or your hands, and lift one end of the dough, folding it to the center.
Lift the opposite end and flip it over the folded end, like folding a letter. Fold the two wide ends in the same manner, to make the dough into a loose ball.
Flip the dough over so that the smooth side is up. Cover the dough with a bowl, and let it rest for up to 5 minutes. Flatten the dough again with oiled hands, and repeat the folding sequence three more times, letting the dough rest up to 5 minutes each time. By the fourth stretch and fold, the dough will become much smoother and the gluten will be fully developed.
Transfer the dough to a lightly oiled bowl, cover with plastic wrap, and refrigerate for 12 to 72 hours.
Lemon, Broccoli, and Garlic Deep-Pan Pizza
(Makes two 9-by-9-inch pizzas or one 10-by-17-inch pizza)
White Flour Master Dough (see recipe above)
1 pound brick, Muenster, provolone, mozzarella, fontina, or Cheddar cheese (or a combination), cut into 1/4-inch cubes
2 cups bite-size broccoli florets
4 garlic cloves, coarsely chopped
3 tablespoons olive oil
1/4 cup freshly squeezed lemon juice
1/4 teaspoon kosher salt, plus more as needed
1/8 teaspoon freshly ground black pepper, plus more as needed
4 Roma or Campari tomatoes, cut into 1/2-inch cubes
Lemon-Garlic Sauce (recipe follows), for drizzling
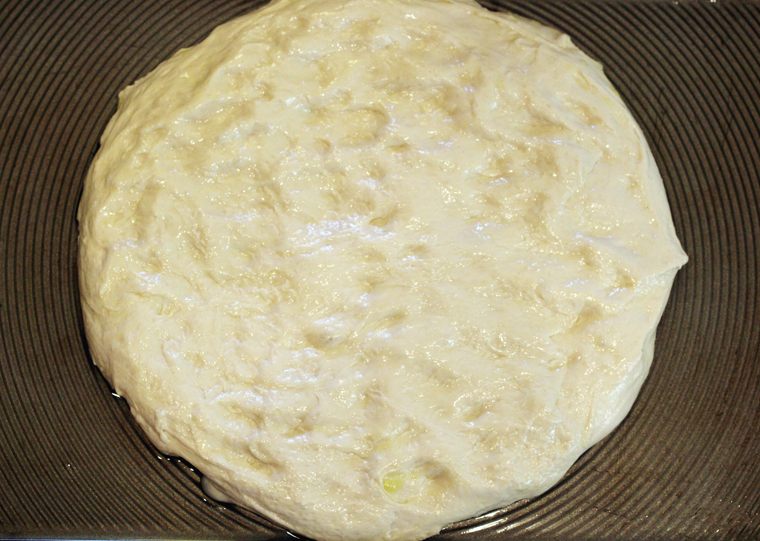
Five hours before baking the pizzas, begin panning and dimpling the dough, at 20-minute intervals. Do this by oiling the pan(s), using 1 1/2 tablespoons olive oil, or half oil, half melted butter, for a 9-by-9-inch pan or 3 to 4 tablespoons for a 10-by-17-inch pan.
Place the appropriate size piece of dough in the center of the oiled pan. Rub the surface of the dough with olive oil and use your fingertips to begin dimpling and expanding it in all directions. Cover the pan loosely with plastic wrap and let the dough relax at room temperature for approximately 20 minutes.
At 20-minute intervals, dimple from the center, with fingers angled toward the edges and corners. Each successive dimpling will expand the coverage over more of the pan. By the third or fourth dimpling, the dough will evenly cover the whole surface of the pan.
At this point, top the dough with half the cheese cubes and press them into the dough. Then allow 3 to 4 hours for the final rise. The dough will bubble up around the cheese and rise significantly in the pan.
Heat the oil in a skillet or wok over high heat. When the oil is hot, add the broccoli florets and the garlic, and saute for approximately 3 minutes, or until the broccoli turns shiny and softens slightly. Add the lemon juice, salt, and pepper and stir until the florets are evenly coated. Immediately turn off the heat. Add more salt and pepper, if needed, and set the broccoli aside to cool.
Twenty minutes before assembling and baking the pizza, preheat the oven to 500 degrees (450 degrees for convection). Top the dough with the remaining half of the cheese cubes, making sure to get plenty around the edges, where the dough meets the pan. Spread the broccoli in an even layer over the cheese and top the broccoli with the tomato cubes. If there is any juice left in the saute pan, drizzle it over the tomatoes and florets.
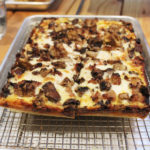
Bake on the middle shelf of the oven for 8 minutes. Then rotate the pan 180 degrees and continue baking 7 to 9 minutes longer, until the cheese is bubbly and the broccoli and tomatoes are slightly charred.
Transfer baked pizza to the stovetop or to a heatproof counter. Using an offset spatula or bench blade, carefully slide it around the edge, between the crust and the side of the pan, and then lift the pizza out of the pan and slide it onto a cutting board. Drizzle with Lemon-Garlic Sauce. Let set for at least 1 minute, then cut into 3- or 4-inch squares and serve.
Lemon-Garlic Sauce
(Makes approximately 1 cup)
3/4 cup mayonnaise
1 large garlic clove, finely minced or pressed
1/4 cup freshly squeezed lemon juice
1/4 cup freshly grated Parmesan, Romano or Asiago cheese
In a bowl, combine the mayonnaise, garlic, and lemon juice and whisk until smooth. Stir in the cheese, cover, and refrigerate until needed. The sauce will keep in the refrigerator for up to 2 weeks.
Adapted from “Perfect Pan Pizza” by Peter Reinhart
More: A Visit to Square Pie Guys
Plus More Pizza Recipes: A16’s Neapolitan-Style Pizza Dough
Love pizza! And this is a good looking recipe. I haven’t made pizza in years — I should again. Problem is that we live withing a 5 minute drive of several places that have really excellent pizza. When we get the craving, we order some to take out. But I should get over that and make this!
Love the idea of putting cubes of cheese in the proofing dough! That’s genius This is going on my to make list.