
Sink Your Teeth Into Dreamy Scallion Pancake Biscuits
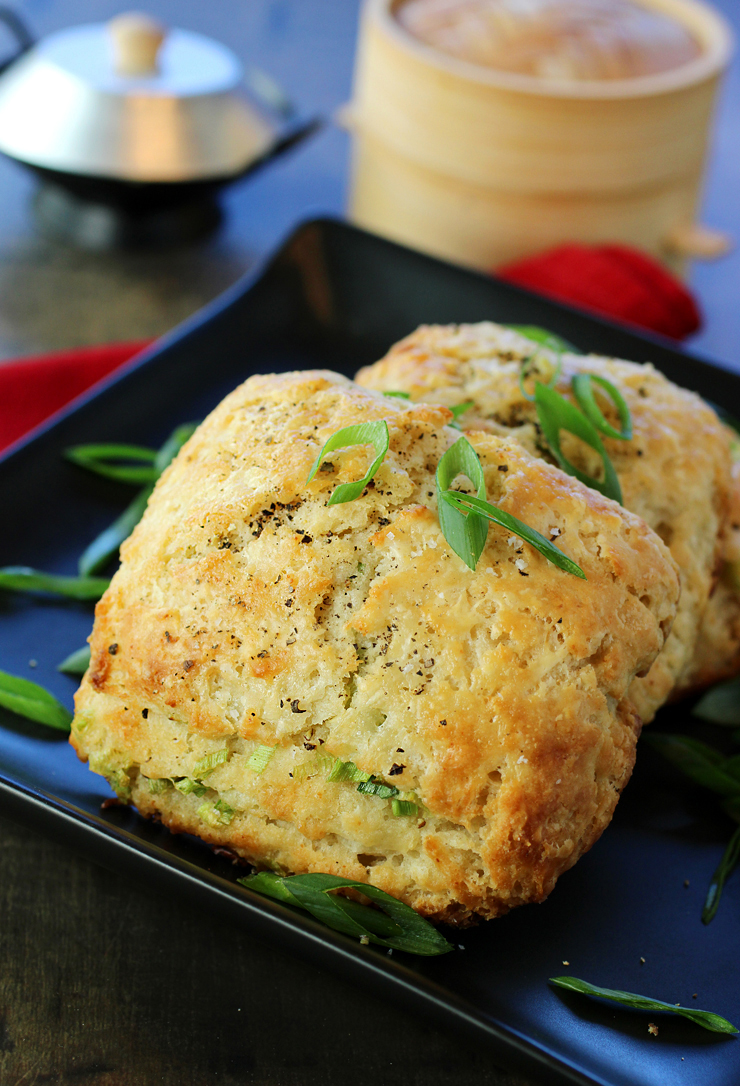
Imagine biting into a heavenly allium-scented Chinese scallion pancake — only one that’s loftier, super crunchy on top, and built majestically like your favorite buttery Southern biscuit.
“Scallion Pancake Biscuits” truly are the best of all carb worlds.
This impressive recipe is from “More Than Cake” (Artisan), of which I received a review copy.
It’s by Natasha Pickowicz, a New York city-based chef and writer behind the popular pastry pop-up Never Ending Taste.

Her Chinese and California heritages are on full display in the 100 recipes, many of which showcase seasonal fruit and/or imaginative riffs on classic Asian treats or ingredients.
You’re sure to fall for goodies such as “Shoyu Peanut Cookies,” “Black Sesame Fortune Cookies,” “Olive Oil, Mascarpone, and Fennel Layer Cake,” “Sunchoke and Apricot Tart,” and “Adzuki Bean and Brown Butter Pie.”
Traditional green onion pancakes involve rolling up dough around a green onion filling, then coiling into a snail, before flattening into a thin circle to cook on the stovetop.
These biscuits also require layering, but are of course, baked in the oven instead.

Like any good biscuit, the dough starts with copious amounts of butter kept cold. In this case, frozen butter is grated, then returned to the freezer again, before combined with flour, baking soda, baking powder, yeast, salt, and 1/4 cup of sugar that imparts a sweet pastry-like taste to this savory biscuit.
Buttermilk gets incorporated in a unique way — with your fingers lifting the flour mixture through the liquid to incorporate with the lightest touch.
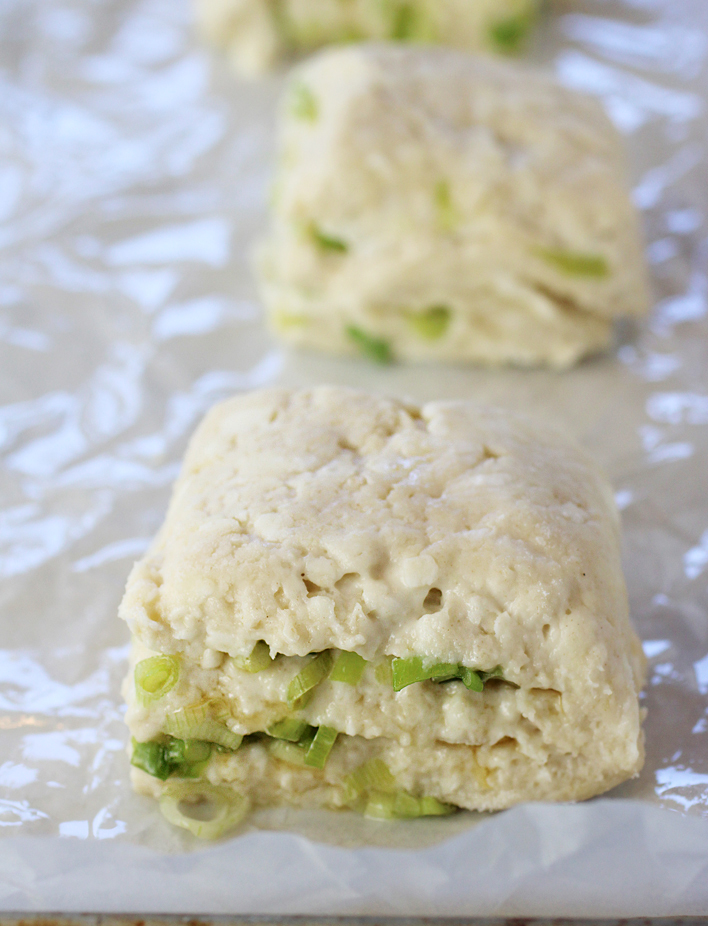
Roll out the dough, cut into thirds, and spoon over chopped scallions mixed with sesame oil and salt. The three sections of dough then get stacked on top of one other, before being cut into individual squares. The biscuits are allowed to rest for 2 hours to allow the yeast to do its thing.
When ready to bake, brush the biscuits with buttermilk, then slide into the oven. When they are done, sprinkle them immediately with sea salt and black pepper.
They taste spectacular — just like scallion pancakes, with a deep onion flavor seasoned beautifully with that finale flourish of salt and pepper. There’s also a lovely rich nuttiness thanks to the sesame oil. And of course, that addition of sugar gives it that familiar sweetness so endemic to so many Chinese savory treats such as baked baos.
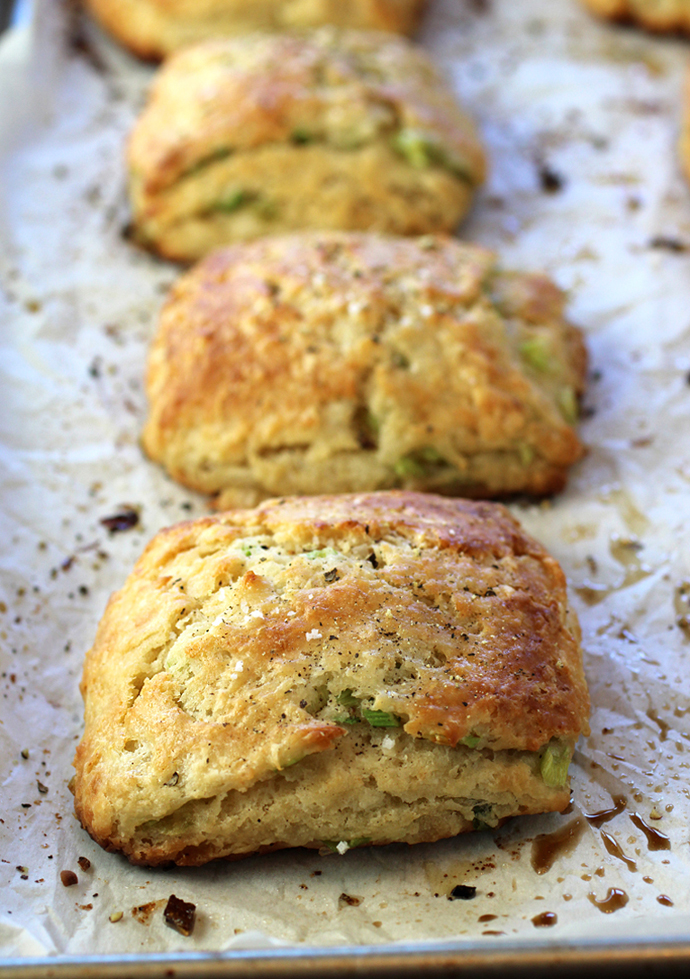
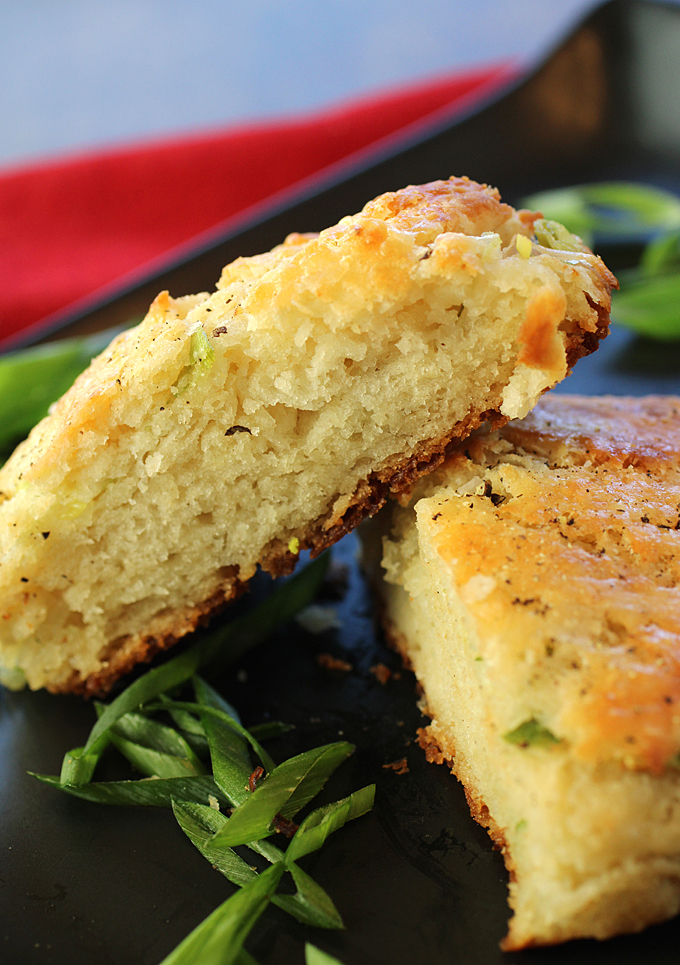
The tops and bottoms of these biscuits are incredibly crunchy, and will stay that way even if you freeze them after baking, then reheat to enjoy at a later time. I know, because I did exactly that. Their interiors are tender and fluffy, too, whether enjoyed fresh or reheated.
My biscuits didn’t necessarily rise as high as the ones pictured in the cookbook. Even so, their taste and texture didn’t disappoint in the least.
Take it from me: The time is right to spoil yourself with two treats in one.
Scallion Pancake Biscuits
(Makes 8 big biscuits)
12 tablespoons unsalted butter, frozen
1 tablespoon toasted sesame oil
1/2 cup finely chopped scallions (about 4 scallions)
1 1/2 teaspoons kosher salt
3 cups minus 2 tablespoons (345 grams) all-purpose flour
1/2 teaspoon baking powder
1/2 teaspoon baking soda
1 teaspoon active dry yeast
1/4 cup (50 grams) sugar
1 1/4 cups cold buttermilk
Flaky sea salt and freshly cracked black pepper
Shred the frozen butter on the largest holes of a box grater. Gather it into a small bowl and return it to the freezer. In another small bowl, combine the sesame oil, chopped scallions, and 1/2 teaspoon of the kosher salt. Set aside.
Mix the dough: In a large bowl, combine the flour, baking powder, baking soda, yeast, sugar, and remaining 1 teaspoon kosher salt and whisk to combine. Add the frozen grated butter all at once and toss and pinch with your fingertips to coat the butter. The mixture will look dry but feel damp.
Add the buttermilk: Form a small well in the center of the flour mixture and drizzle in half of the buttermilk. Using your hands as salad tongs, very gently lift the liquid into the flour mixture, fluffing and folding to combine. Do not compress the crumb with your fingers; let the floury curds fall through your fingertips as you toss the mixture. Use a very light touch and add additional buttermilk 1 tablespoon at a time until the mixture just comes together, like a wet wool sweater. (You should have between 2 and 4 tablespoons buttermilk left over.)
Roll and fold the dough: Using the sides of your hands and a bench scraper, pat the dough into a flat 9-inch square that’s 1/2-inch thick. Cut the square vertically into 3 equal columns. Sprinkle the far-left column with half of the sesame oil/scallion mixture. Gently lift up the middle column and place it on top of the left column. Scatter the remaining scallions on the surface of this stack. Gently lift the far-right column and place it on top of the stack. Use a rolling pin to press this tower down, flattening and shaping the dough to a rectangle 8 by 4 inches and 2 inches thick.
Portion the biscuits: Top a half-sheet pan with a piece of parchment paper and lightly mist with cooking spray. Use a large knife to portion the dough into eight 2-inch squares. Wipe the knife clean after every cut for the cleanest results. Carefully transfer the biscuits to the lined sheet pan, spacing them at least 3 inches apart. Drape the pan with plastic wrap and let rest at room temperature for 2 hours (see tip #1). The biscuits will look puffy and feel light and tender to the touch. (Take care not to overproof; see tip #2).
Preheat the oven: About 30 minutes before the biscuits have finished proofing, preheat the oven to 400 degrees.
Bake the biscuits: Gently brush the remaining buttermilk on the surface of the biscuits and transfer to the oven. Bake until golden, about 20 minutes. Remove from the oven and sprinkle with flaky sea salt and black pepper.
Tip #1: The biscuits can also rest, covered, overnight in the fridge. When ready to bake, pull from the fridge and let come to temperature for an hour.
Tip #2: Overproofing yeast results in a dense, short biscuit, as the gluten has been stretched to its limit and can no longer support the gasses building inside. If you spot small holes on the surface of the biscuits before baking, that’s in indicator that the biscuits are beginning to overproof and may collapse in the oven.
From “More Than Cake” by Natasha Pickowicz by Natasha Pickowicz
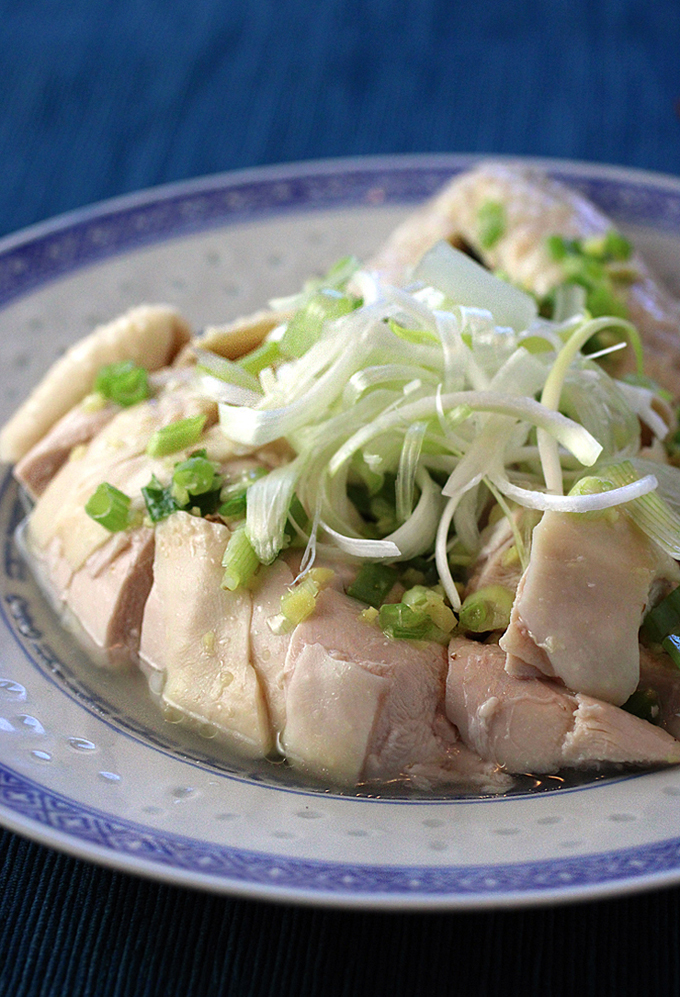
More Delectable Asian Scallion Recipes to Enjoy: Scallion Oil-Poached Chicken
So different, they sound and look incredibly delicious.
I love scallion pancakes and would like to try this recipe, but having a hard time picturing how to follow the directions. It seems like using my fingers to lift the flour through the liquid instead of the other way around would be easier. The if cutting the 9” square dough in 3 strips would make each one 3”x 9” and stacked 1 ½ “ tall plus however much the onions add to the height. How do you mush it shorter to 8”? I must not be understanding how to cut the dough.
Hi Karen: These are simply amazing! I can’t wait to make more of them.
Hi Suzy: The recipe is probably not worded the best, but yes, you use your fingers to just gently lift everything up, so that you’re essentially combining the liquid and flour mixture in the gentlest way. And you’re right that it is a bit of a head scratcher to go from 9 inches to 8 inches. Basically, I just stacked everything, patted it down with the rolling pin to compress, then just cut it into eight squares. As long as the squares are fairly the same size, I don’t think it matters if you started with a dough stack that’s 9 inches or 8 inches. I hope that helps. They really are delicious. 😉