A Savory Mochi Trifecta
You’ve enjoyed it hot and cold, on the cob and off, and in salads, pastas, soups, and sides.
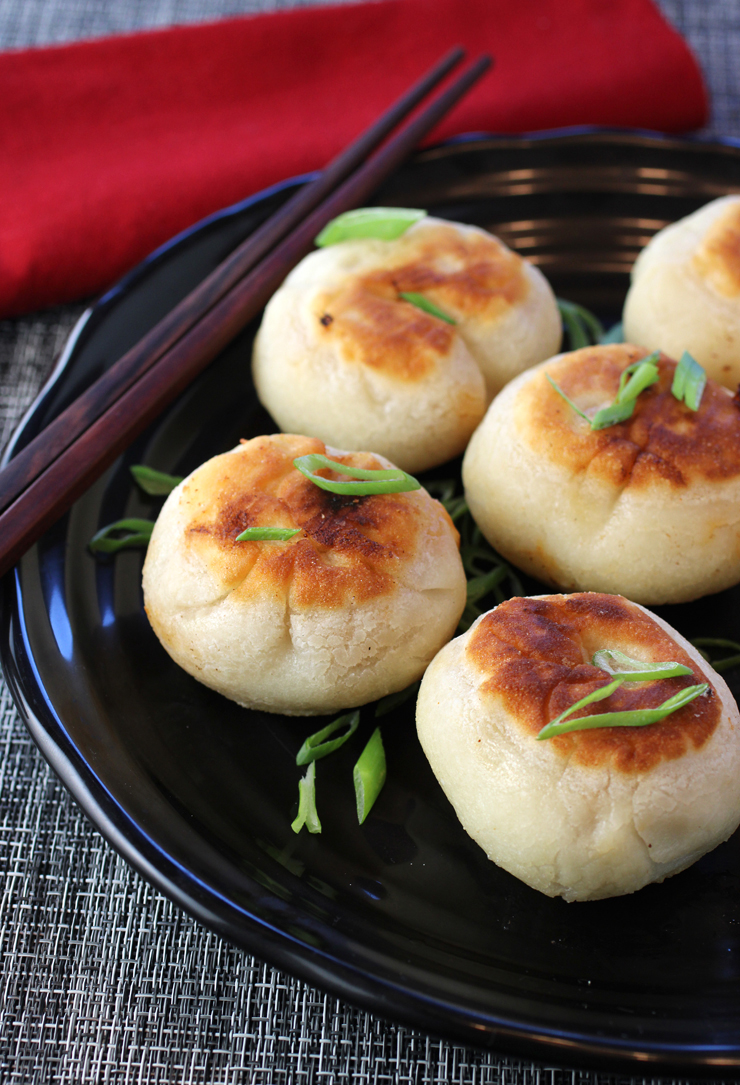
But have you ever had corn stuffed inside chewy, crisp pan-fried mochi?
With gooey cheese and spicy kimchi folded in to boot?
This perfect trio of ingredients make up the filling for clever “Kimchi & Corn Cheese Pan-Fried Mochi.”
This fun recipe is from “Breaking Bao” (Chronicle Books, 2024), of which I received a review copy.
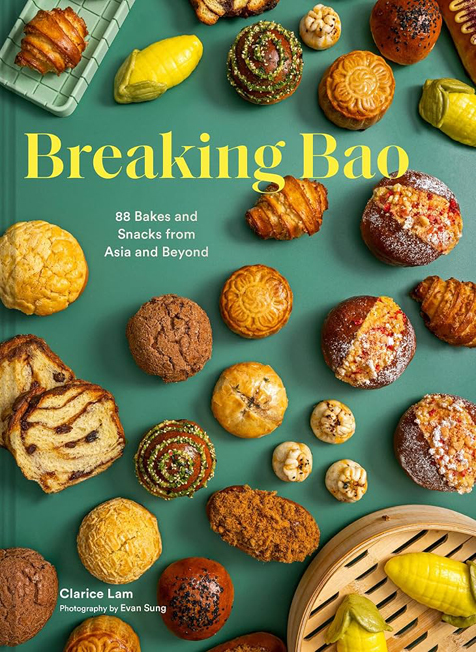
It was written by Clarice Lam, an award-winning New York City pastry chef who has worked at Thomas Keller’s Bouchon Bakery, Jean-Georges Vongerichten’s Spice Market, and the Chocolate Room.
Toronto-born, Los Angeles-reared, and the daughter of parents who emigrated from Hong Kong, Lam’s creations reflect her heritage and travels, melding Asian flavors with global techniques.
In a nod to “8′ being the luckiest number in Chinese culture, her cookbook contains 88 recipes with inspired flavor combinations and ingredients. Besides mouthwatering photos of finished dishes, there are also plenty of step-by-step technique images so you learn precisely how to fold or form certain pancakes, dumplings, and baos.
Savor everything from “Buckwheat & Black Sesame Bao,” “Spiral Cherry Puffs,” and “Vietnamese Cinnamon-Raisin Babka” to “Pandan-Lime Meringue Pie,” “Mango Sticky Rice Cake,” and “Fig and Marzipan Mooncakes.”
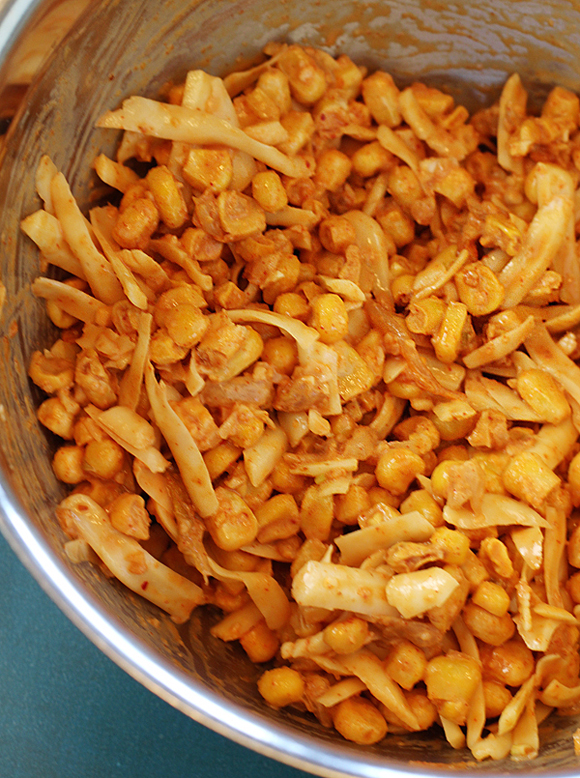
Her pan-fried mochi were inspired by her love of tteokbokki, spicy stir-fried rice cakes, and corn cheese, a popular side dish at Korean barbecue restaurants that’s a mix of corn, mayo, and plenty of shredded cheese.
You can use frozen or canned corn in these mochi. But at this time of year, definitely use fresh corn kernels cut off the cob. Mix the corn with Kewpie mayo, melted butter, gochujang (Korean fermented red chili paste), shredded mozzarella, chopped kimchi, and minced garlic.
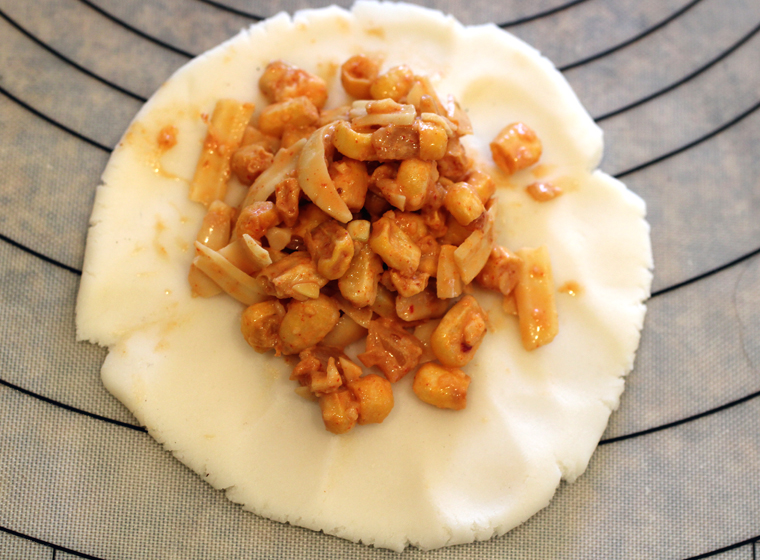
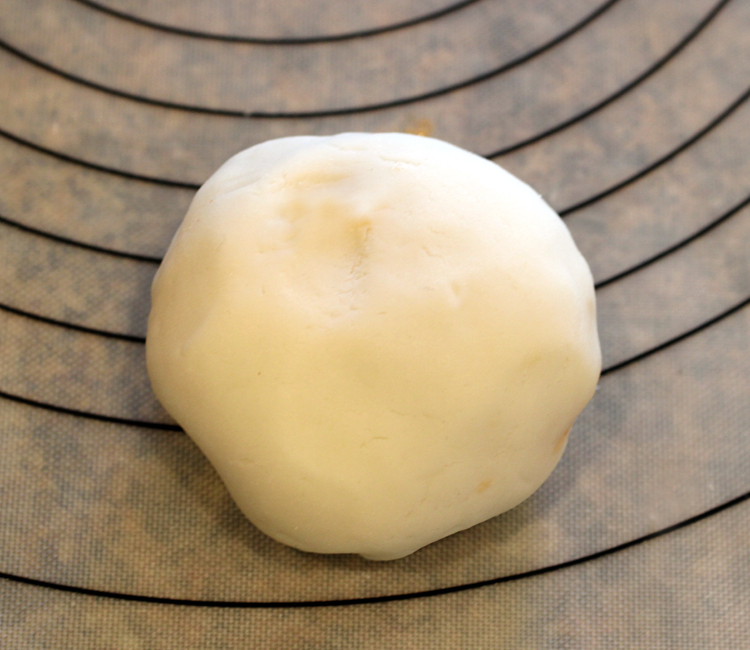
Make the mochi dough by mixing together glutinous rice flour with hot water seasoned with a little salt and sugar. It’s a sticky dough, so wet your hands with a little water before kneading to help the dough come together without completely adhering to your fingers.
Divide the dough into seven pieces, rolling each one into a ball, then flattening with your palm. Spoon a little of the corn filling into the center of each flattened circle of dough, then fold all the edges inward, and pinch to seal into the shape of a hockey puck.
Place the mochi in one layer in a large pan on the stovetop and cover to help them cook through. Half way through, flip them to the other side. They will puff up a little bit as they cook, a sign that they have cooked all the way through.
Once cooked, let them cool on a platter for a couple minutes, because there’s nothing worse than biting into incendiary molten cheese that scorches your mouth.
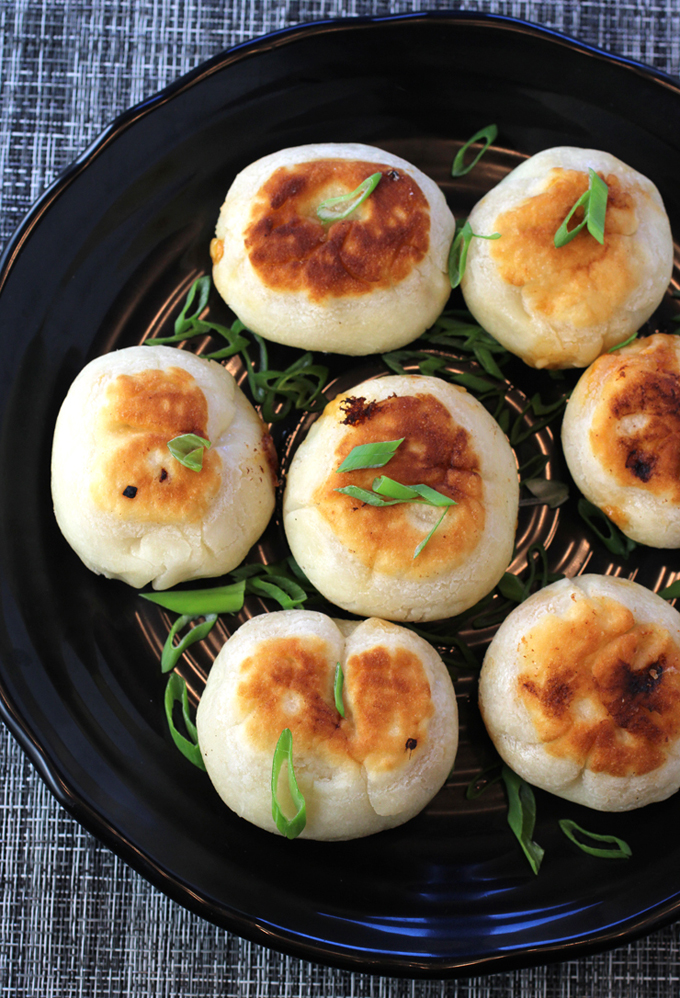
Serve the mochi baos warm, garnished with scallions, and with more gochujang or chili crisp on the side, if you like.
They are nicely crisp on the top and bottom, and distinctly chewy-bouncy inside. The filling is creamy and a little spicy with the sweetness of the corn coming through.
Although the ones in the cookbook photo looked to be nearly palm-sized, mine ended up being somewhat smaller, about 2 1/2 inches in diameter, even though I did make a total of seven mochi as the recipe indicated. As a result, I had quite a bit of filling left unused. If you end up with the same, just heat up the remainder another time to enjoy with rice alongside any protein cooked with Asian flavors.
These pan-fried mochi with their denser, slightly sticky texture are deceptively filling, too.
They are fun to make and enjoy anytime of year, but especially now before the last ears of fresh summer corn are gone.
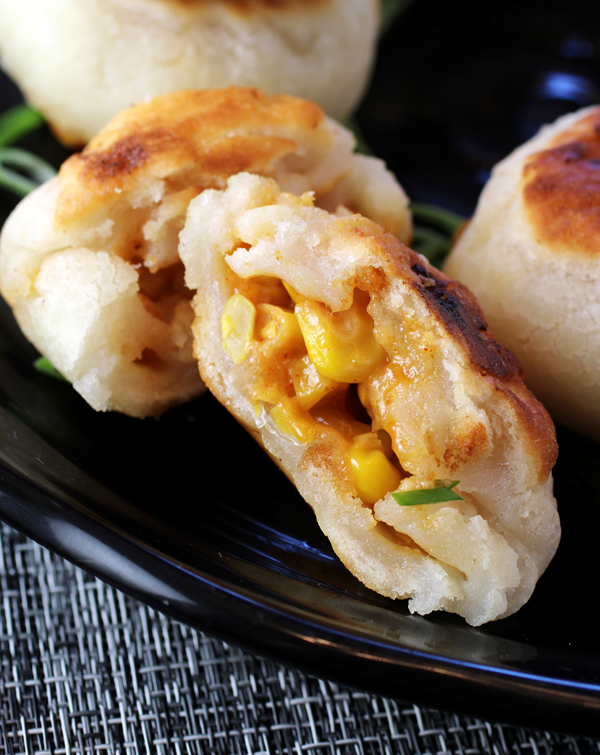
Kimchi & Corn Cheese Pan-Fried Mochi
(Makes seven 1 3/4-ounce pieces)
For the pan-fried mochi dough:
2 cups (220 grams) Mochiko or glutinous rice flour
2 teaspoons granulated sugar
1/4 teaspoon kosher salt
2 teaspoons vegetable oil
For the kimchi-corn cheese filling:
1 tablespoon Kewpie or regular mayo
1/2 tablespoon unsalted butter, melted
2 teaspoons gochujang
1 teaspoon granulated sugar
1 1/3 cup (200 grams) fresh, frozen, or canned and drained corn
1/2 cup (50 grams) shredded low-moisture mozzarella
2 tablespoons roughly chopped kimchi
2 garlic cloves, minced
2 to 4 tablespoons (30 to 60 milliliters) vegetable oil
2 scallions, finely sliced, for garnish (optional)
To make the mochi dough, in a medium mixing bowl, add the Mochiko. In a small pot, bring 1/2 cup water plus 1 tablespoon (135 milliliters) of water, the sugar, and the salt to a rolling boil.
As soon as it boils, remove the pot from the heat and pour it into the bowl with the Mochiko. Using a pair of chopsticks or a fork, stir the dough until it won’t stir anymore. It should look like a shaggy lump of dough. Cover the bowl tightly in plastic wrap and allow to sit for 5 minutes.
Remove the plastic wrap and add the vegetable oil. Knead the dough by hand in the bowl until the oil is incorporated, then transfer it onto your work surface and knead until smooth, about 5 minutes. (Wetting your hands slightly may make it easier to work with this dough.) Roll it into a log and wrap in plastic wrap. Allow the dough to rest for 30 minutes.
Meanwhile, make the kimchi-corn cheese filling. In a small mixing bowl, whisk together the Kewpie, butter, gochujang, and sugar until combined.
Add the corn, mozzarella, kimchi, and garlic and mix well. Set aside.
Divide the dough into seven equal (50 gram) pieces. Lightly grease your work surface with some vegetable oil. roll a portion into a ball and flatten it into a 3 1/2-inch disc using the palm of your hand. Keep the rest covered in plastic wrap so it doesn’t dry out.
Place about 2 to 3 tablespoons of filling into the center of a dough circle. Gather all the edges together and pinch to seal into a ball shape. Make sure everything is completely sealed so it doesn’t ooze out when you fry them. Flip the ball over so the seam side is down and lightly flatten the ball into a hockey puck shape using the palm of your hand. Repeat with the rest. Keep the mochi covered with plastic wrap while you are shaping so the dough doesn’t dry out.
Preheat a large pan over medium heat. Add 2 tablespoons of oil and place the mochi bao in the pan, in batches if necessary, making sure to keep space between them so they don’t stick together. Cover the pan and fry until golden brown, 3 to 5 minutes on each side. (If you don’t cover the pan, they won’t cook all the way through before burning.) Add more oil if necessary. If they are turning brown too fast, lower the heat a little.
Place the mochi bao on a plate and garnish with sliced scallions, if desired. Allow to cool slightly before serving. The inside will be very hot.
Pro Tips & Storage:
- I recommend eating these the day they are fried, but if you have leftovers, you can store them in an airtight container for up to 3 days in the refrigerator.
- They can be assembled in advance and stored uncooked in a single layer on a parchment-lined baking sheet or plate, wrapped in plastic wrap, for up to 3 days in the refrigerator or 3 months in the freezer. Cooking times will be longer if you are frying them straight from the fridge or freezer.
- Not a fan of spicy? Leave out the kimchi and gochujang; it will still taste great.
- You could also go more traditional and till the mochi bao with red bean paste.
Adapted from “Breaking Bao” by Clarice Lam
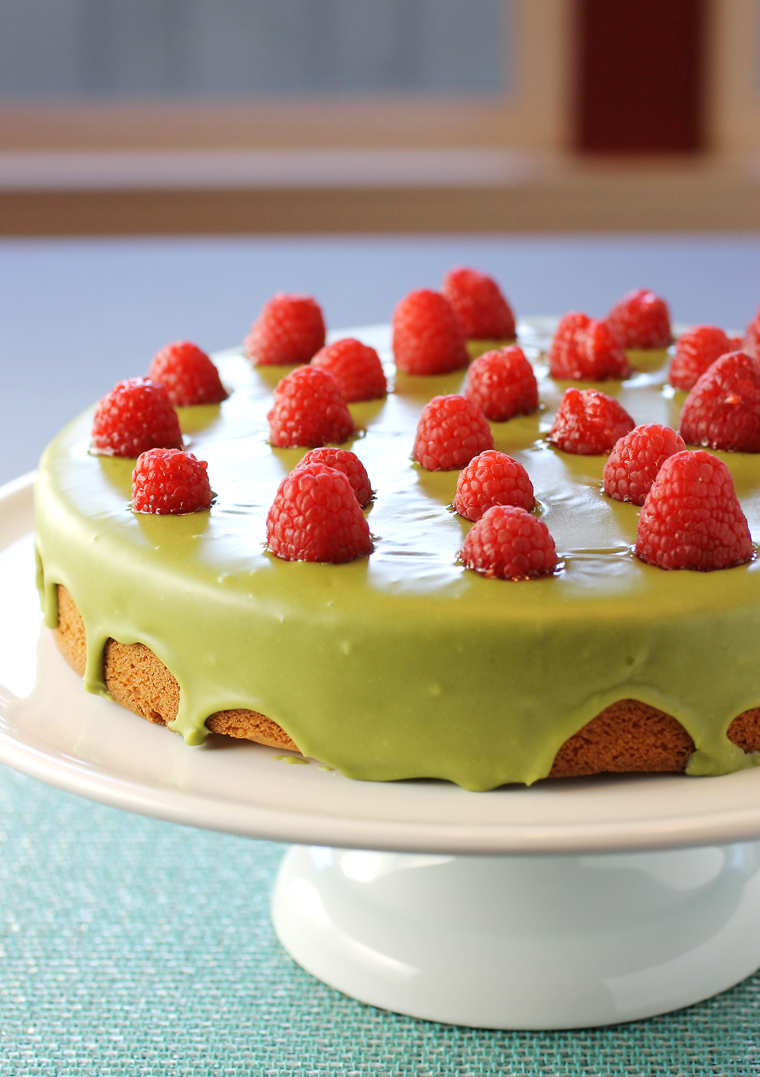
More Delicious Recipes to Make with Mochiko: Raspberry-Mochi Butter Cake with Matcha Glaze by Republique Bakery
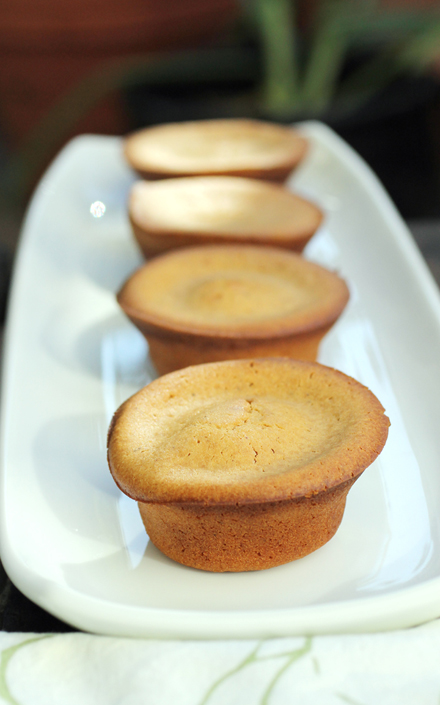
And: Brown-Butter Mochi
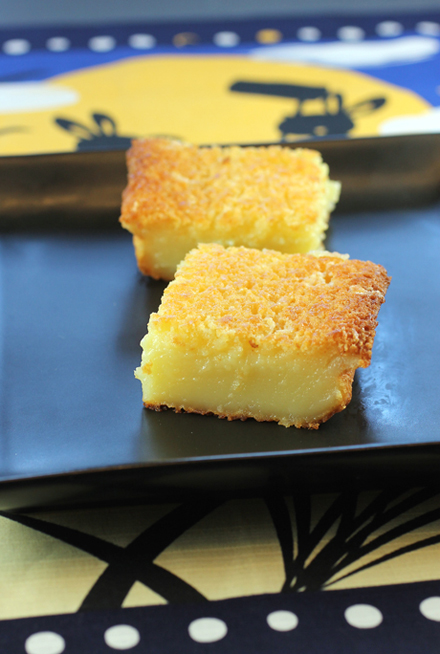
And: Butter Mochi